How to strengthen or repair a mini
The life of a mini is sometimes difficult, and some are more fragile than others. When a piece breaks, it is often enough to glue it back together. But, sometimes, there is not enough surface for the glue to hold, or it’s obvious that the piece will break again. It is then more convenient to pin the mini by adding a metal reinforcement.
If you notice a weak spot when assembling the mini, do not hesitate to pin immediatly, rather than wait for it to break. It is often easier to pin in the first stage of assembly than after a break.
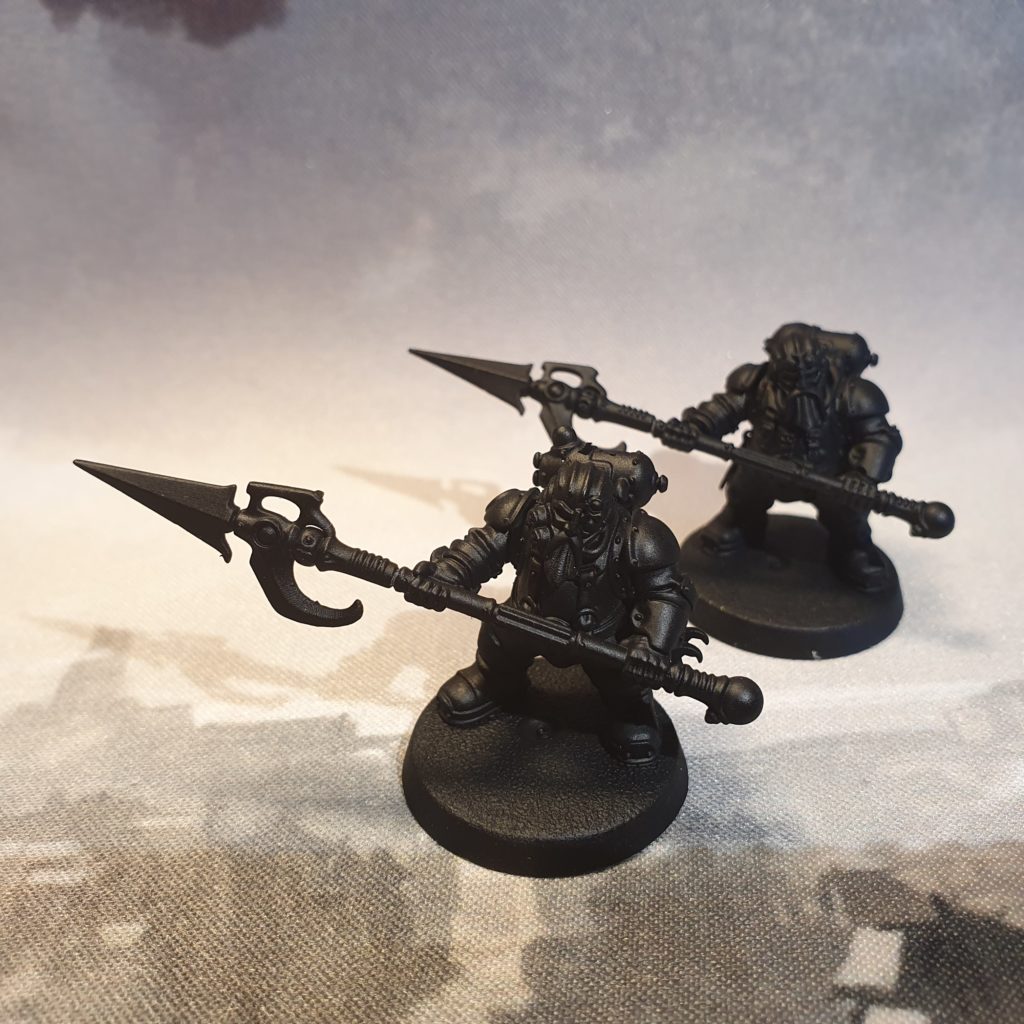
These two Arkanaut Kharadron Overlords, victims of my clumsiness, will serve as examples.

The tools needed to tiger:
- Superglue
- Hand drill and drill (here 0.8mm)
- Piano wire (fine wire, here 0.6mm found in any hardware store. For larger parts, paper clips or larger rods can be used)
- Fine sandpaper
- Box Cutter
- Clipper
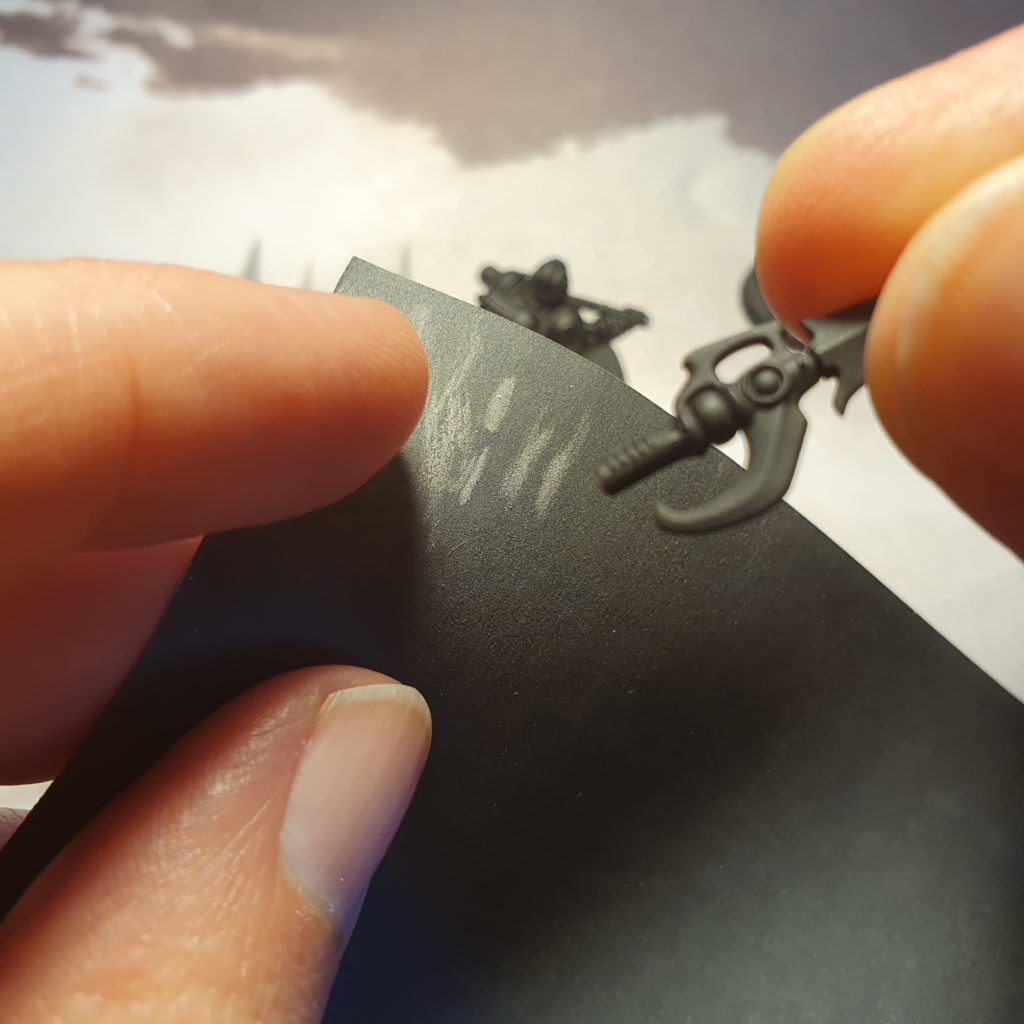
The first step is to even out the parts’ surfaces with sandpaper.
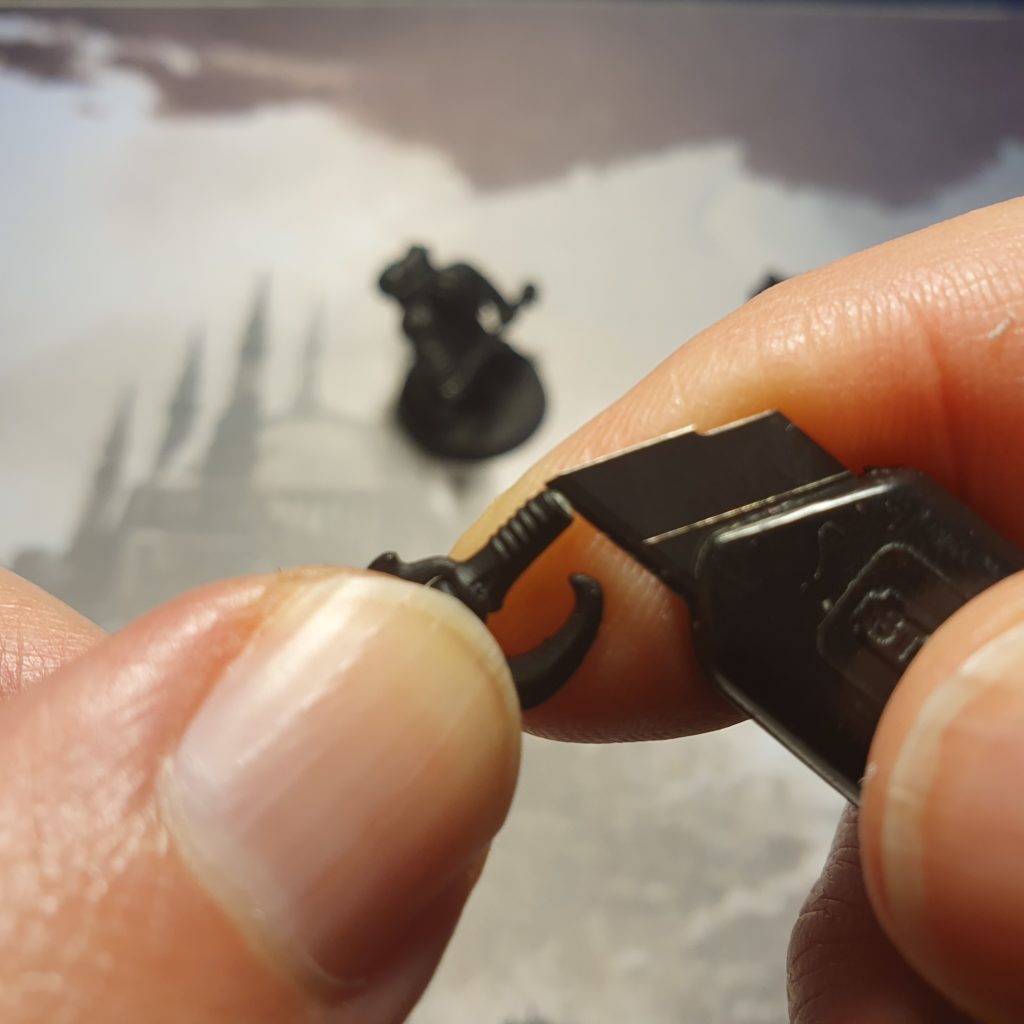
If necessary, you can make a cross on the part with a box cutter to guide the drill bit.
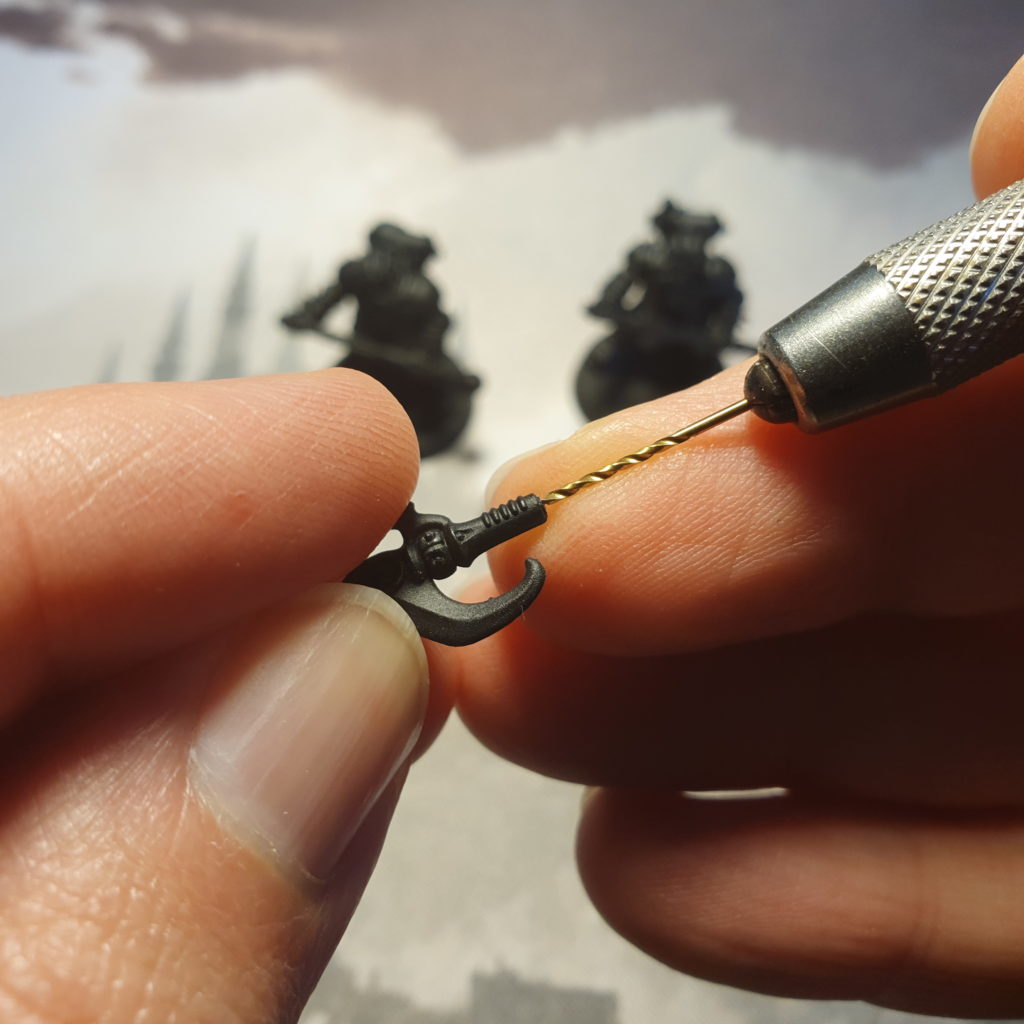
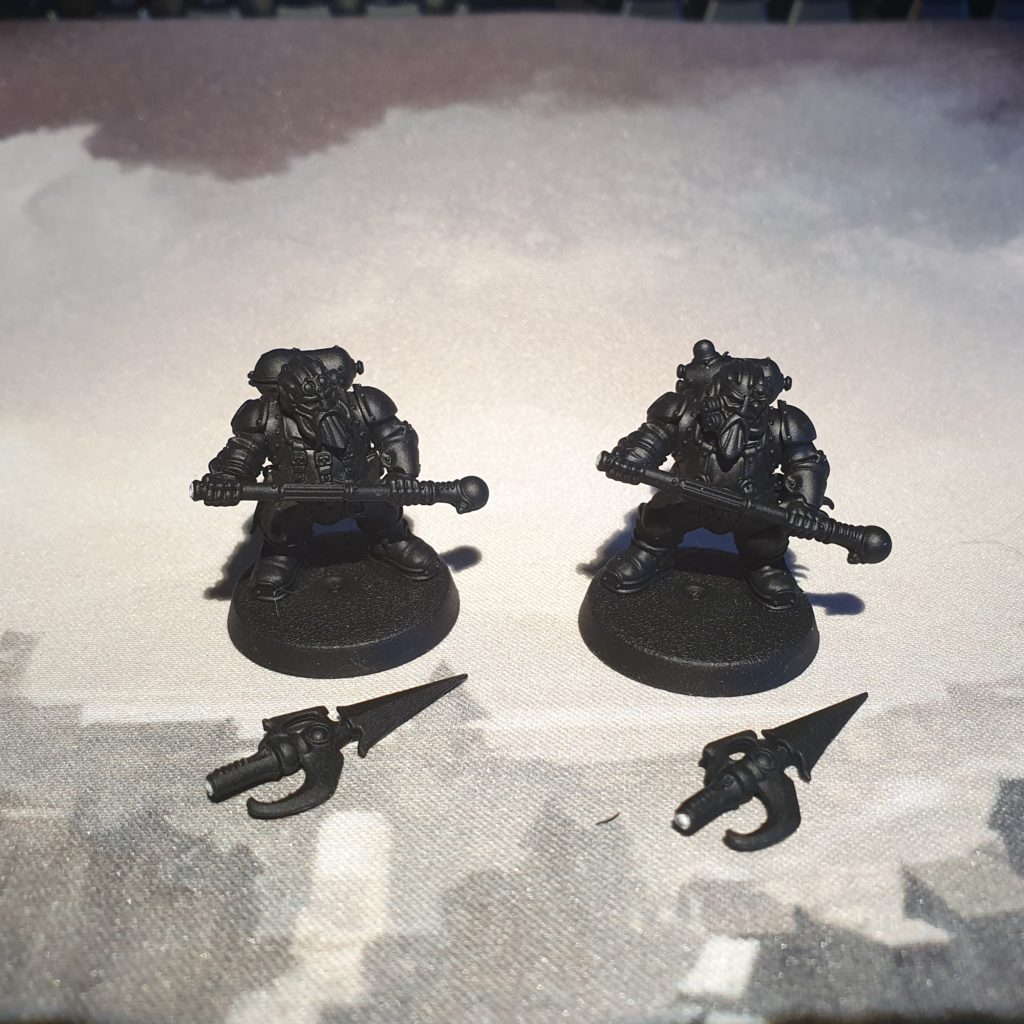
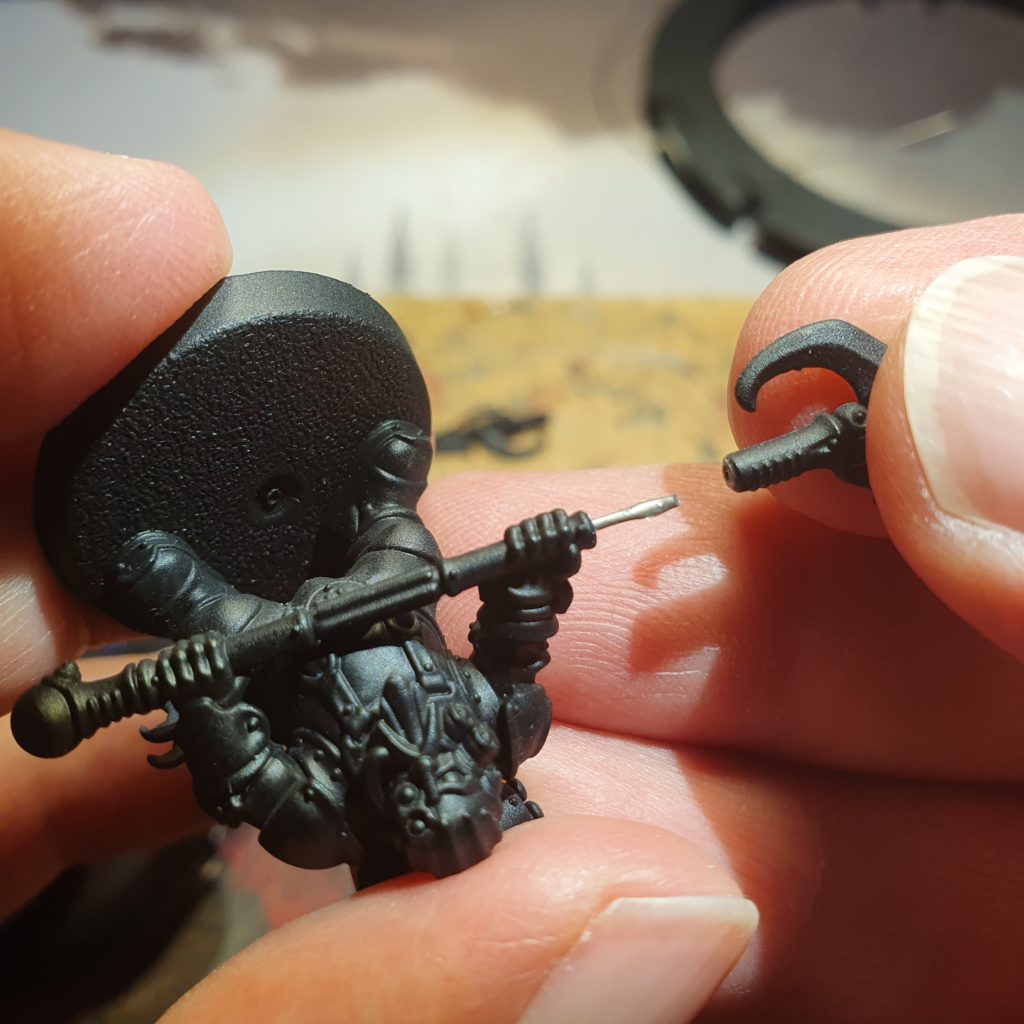
Drill each parts. Gauge the depth depending on the parts. For these stratopikes I drilled about 5mm deep.
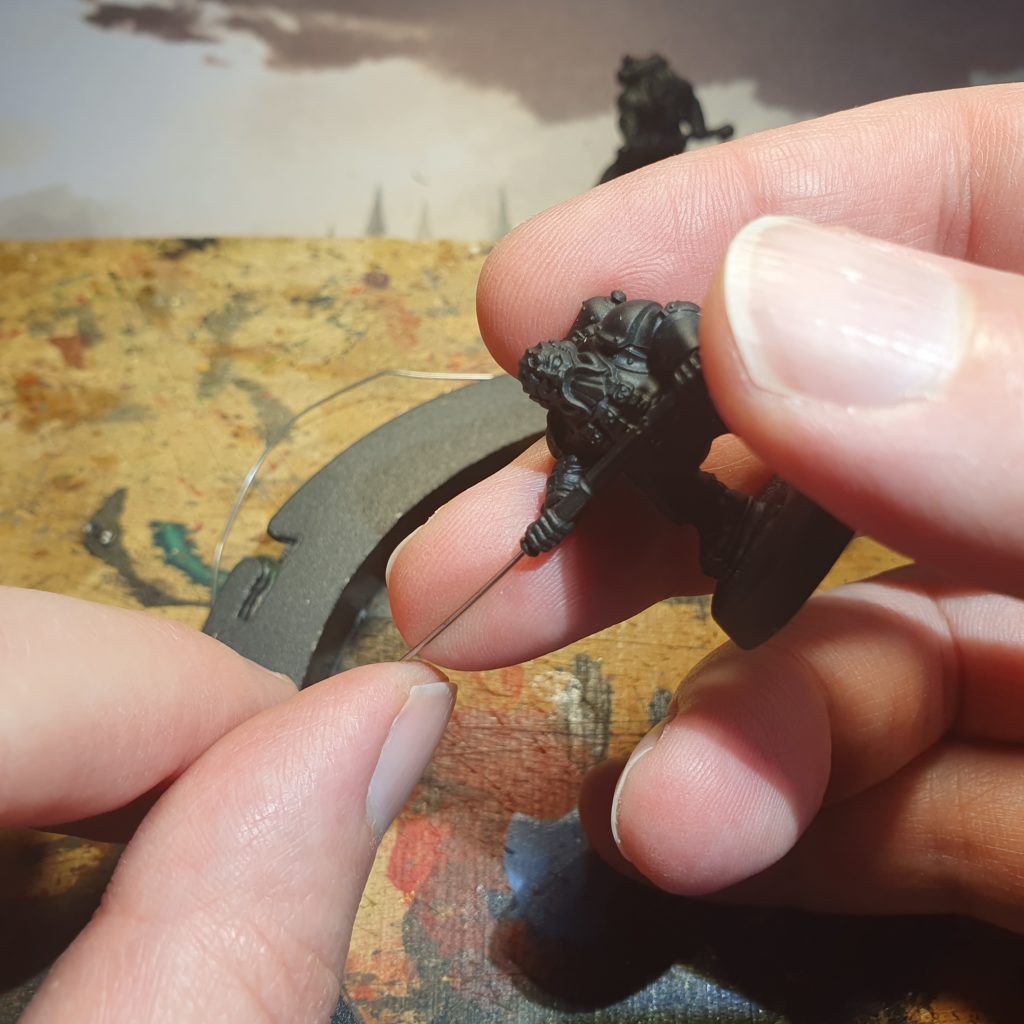
Glue the piano wire in the larger part and clip the leftover wire. Don’t forget to leave enough length to pin the part. You still have time to clip more, or drill the other part deeper as you wish.
Don’t put too much glue, the space between the wire and the mini is very thin and will fill up quickly.
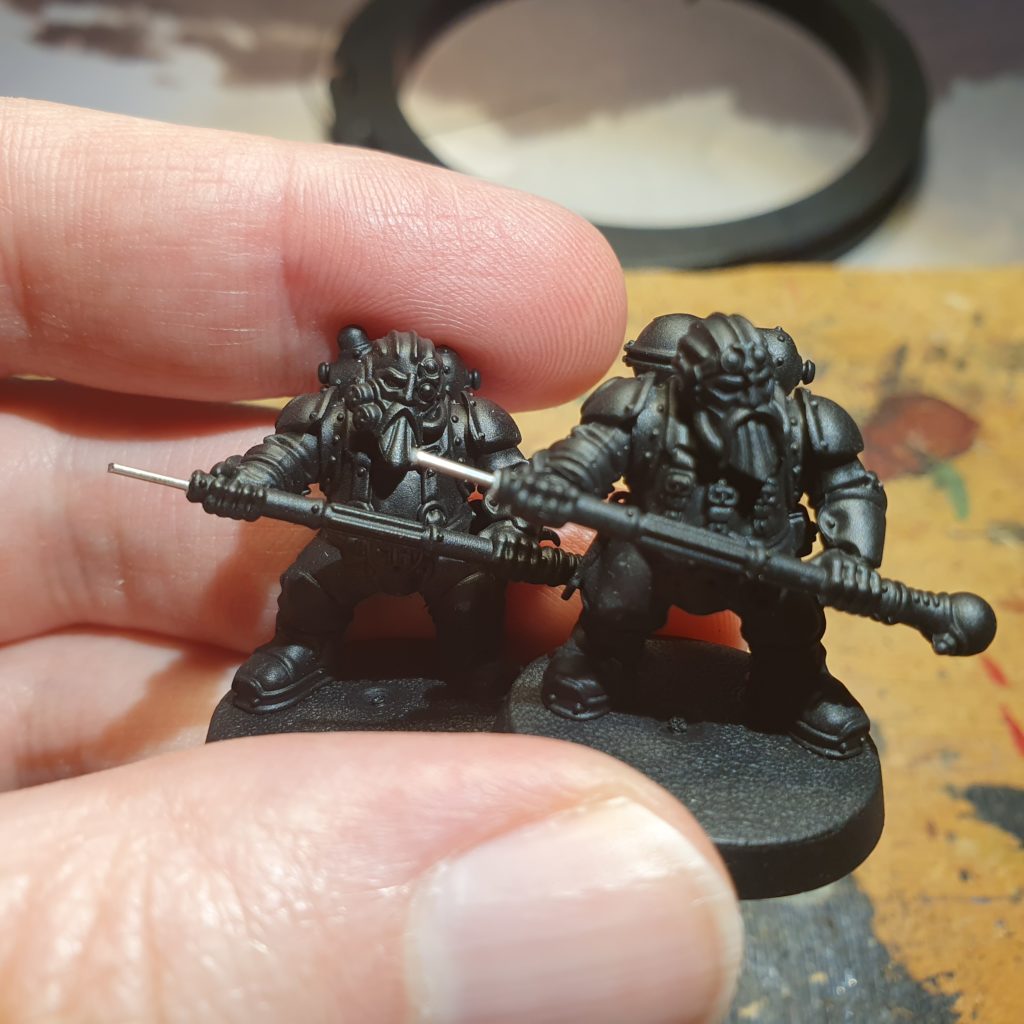
Here are the two Arkanaut Kharadron Overlords with glued pins. All that remains is to glue the skypikes’ heads.
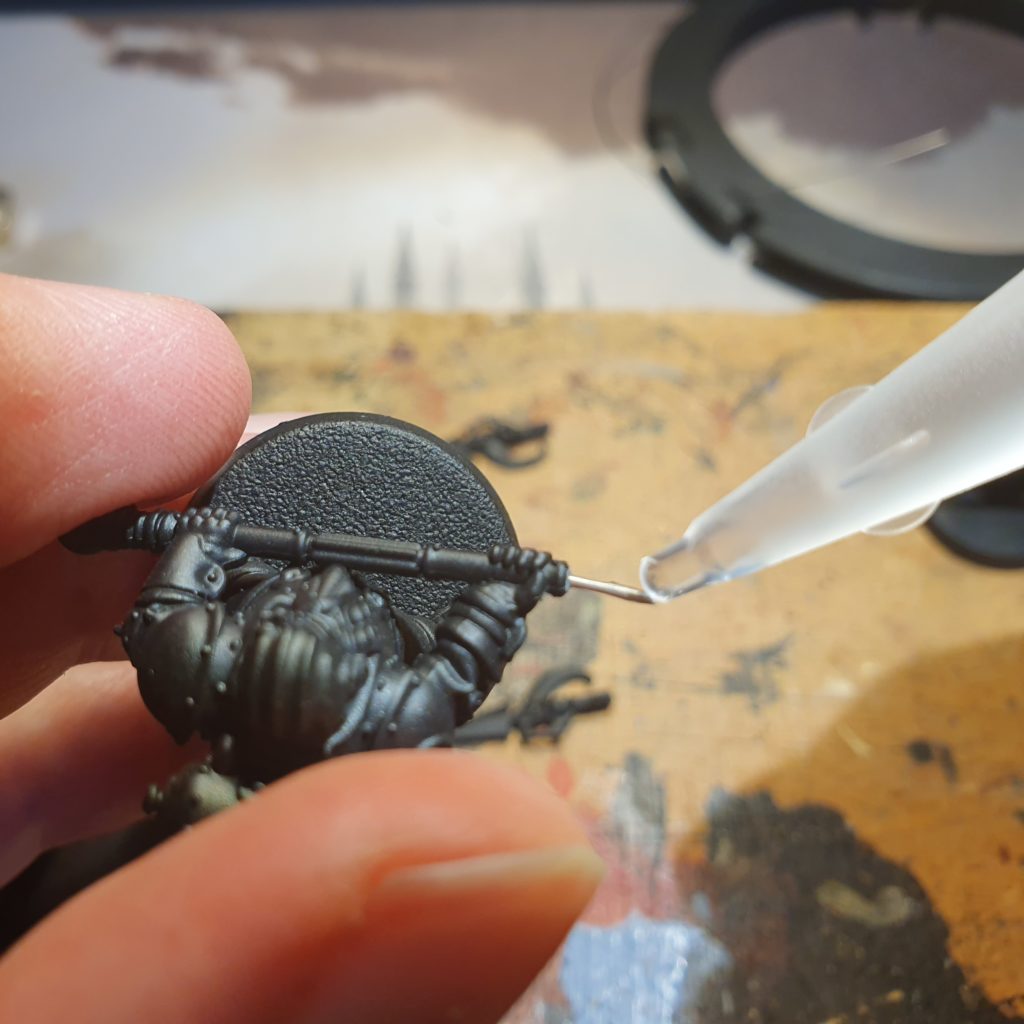
Be careful again not to put too much glue. Remember to work above a surface you’ll feel free to drop superglue on.
Put the piece in place, hold it a few seconds and let it dry.
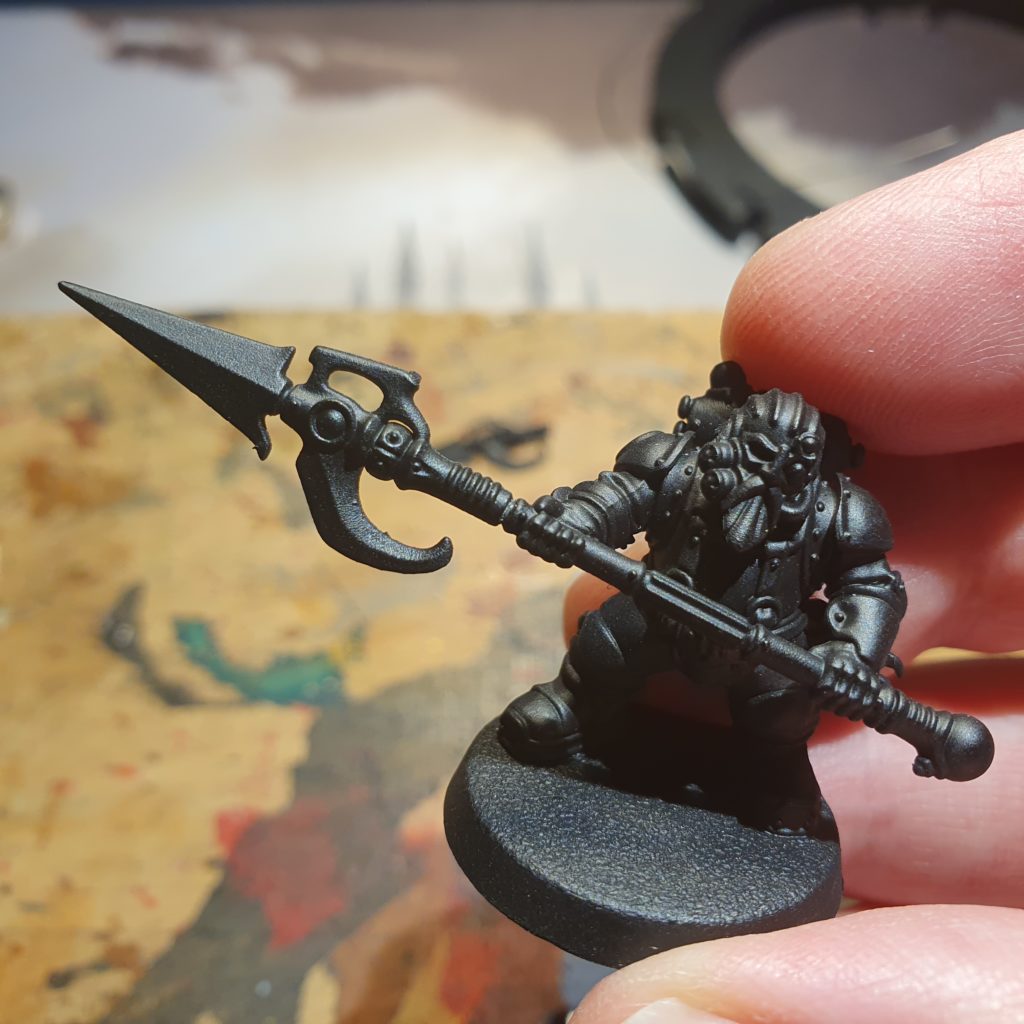
There you go. The model is now stronger than before (that’s no reason to mistreat it either).